

Getting Started With VICTOR
Follow the instructions below, or navigate to this presentation for a more in-depth introduction to the hub.

Look out fo am email invitation in the inbox of the email you used to register.
Video tutorial for registering for VICTOR: (Clicking the image below will open the 'Introduction to VICTOR' video on YouTube in a new tab).

After logging into VICTOR, you will see a ‘server options’ screen (shown below). This is where you will choose the size of the machine you will need to run the models.
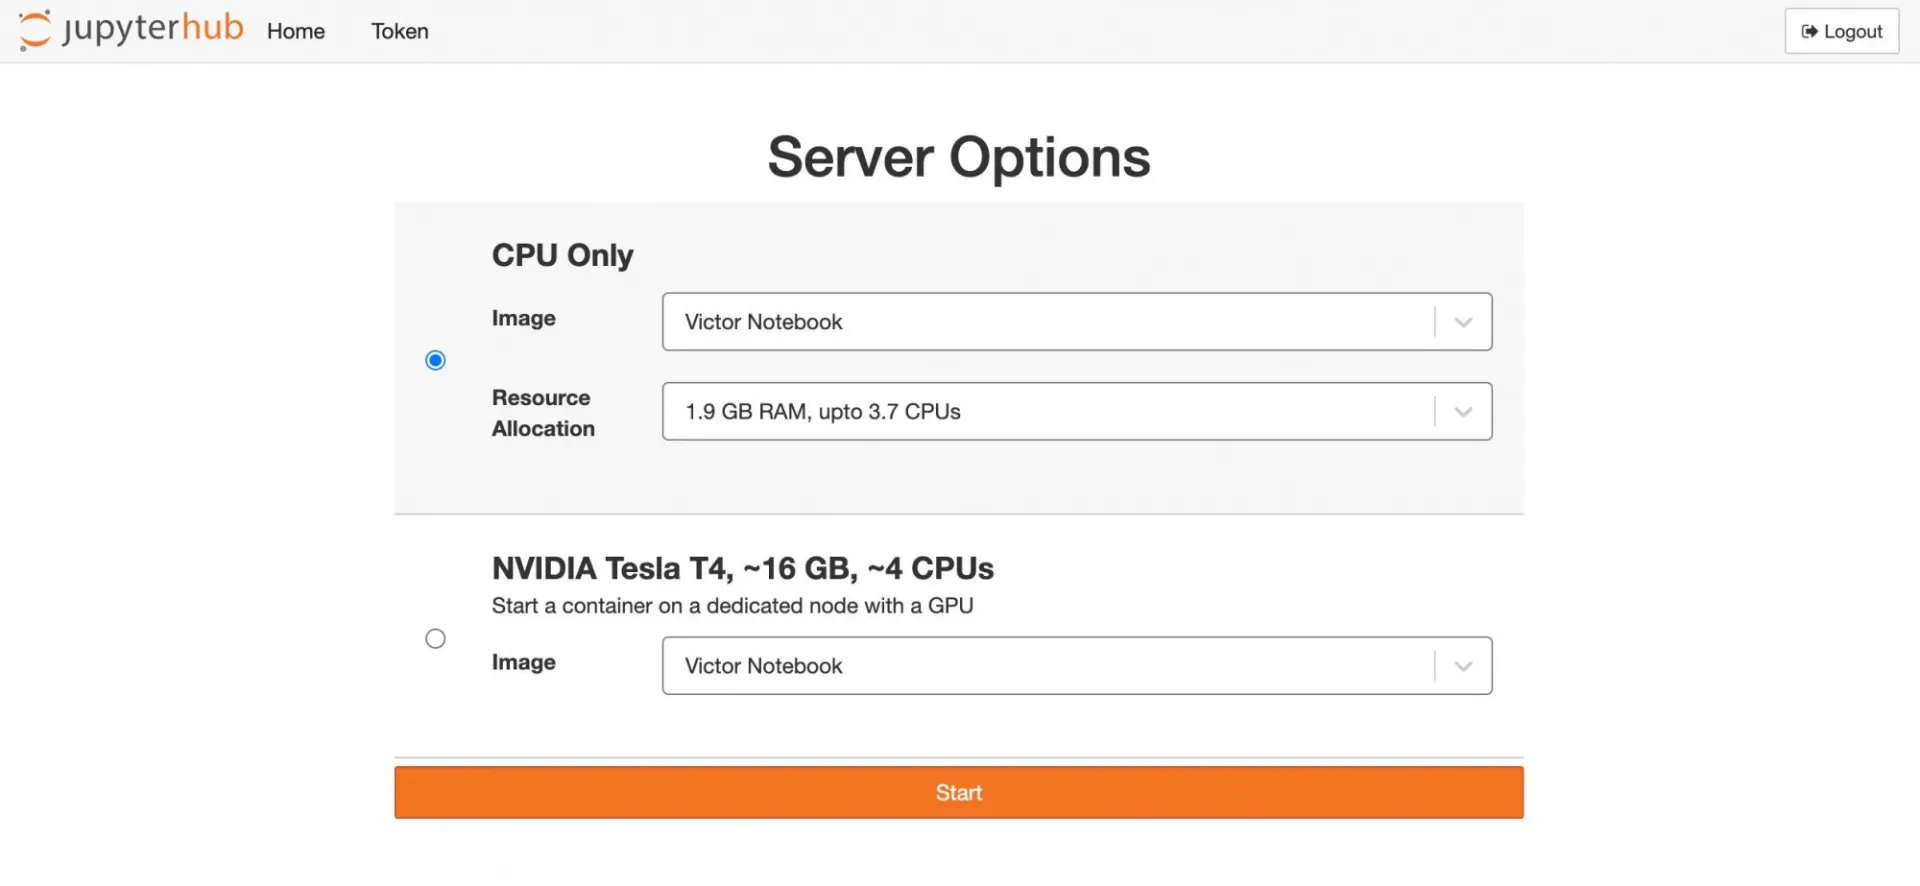
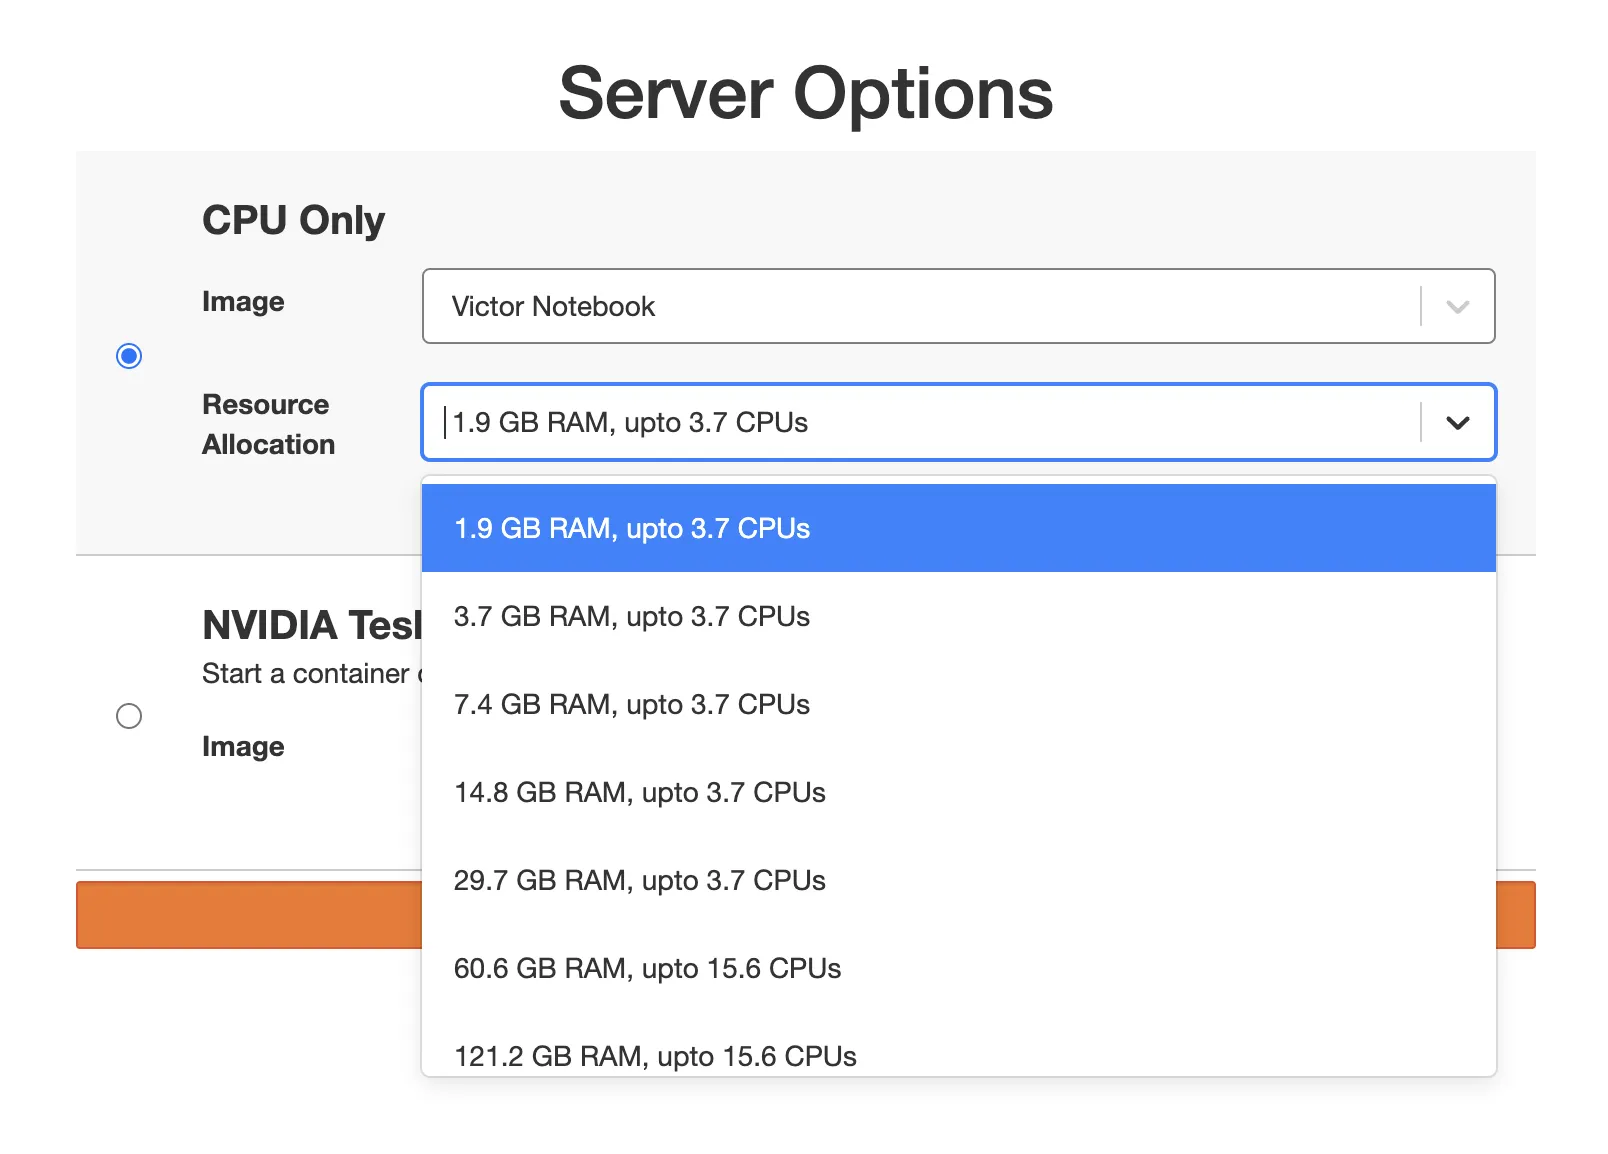
Generally, you will be able to use the first two machine sizes for most cases (1.9 or 3.7 GB RAM). For slightly more granular or high-resolution options, choose the second option, or 7.4GB RAM.
However, if you plan to run IMEX_lava, IMEX_sflow, fall3d, or hysplit, choose either the third or fourth option (7.4, 14.8 GB RAM).
After selecting your target machine size, click the orange start button to continue to The Launcher.
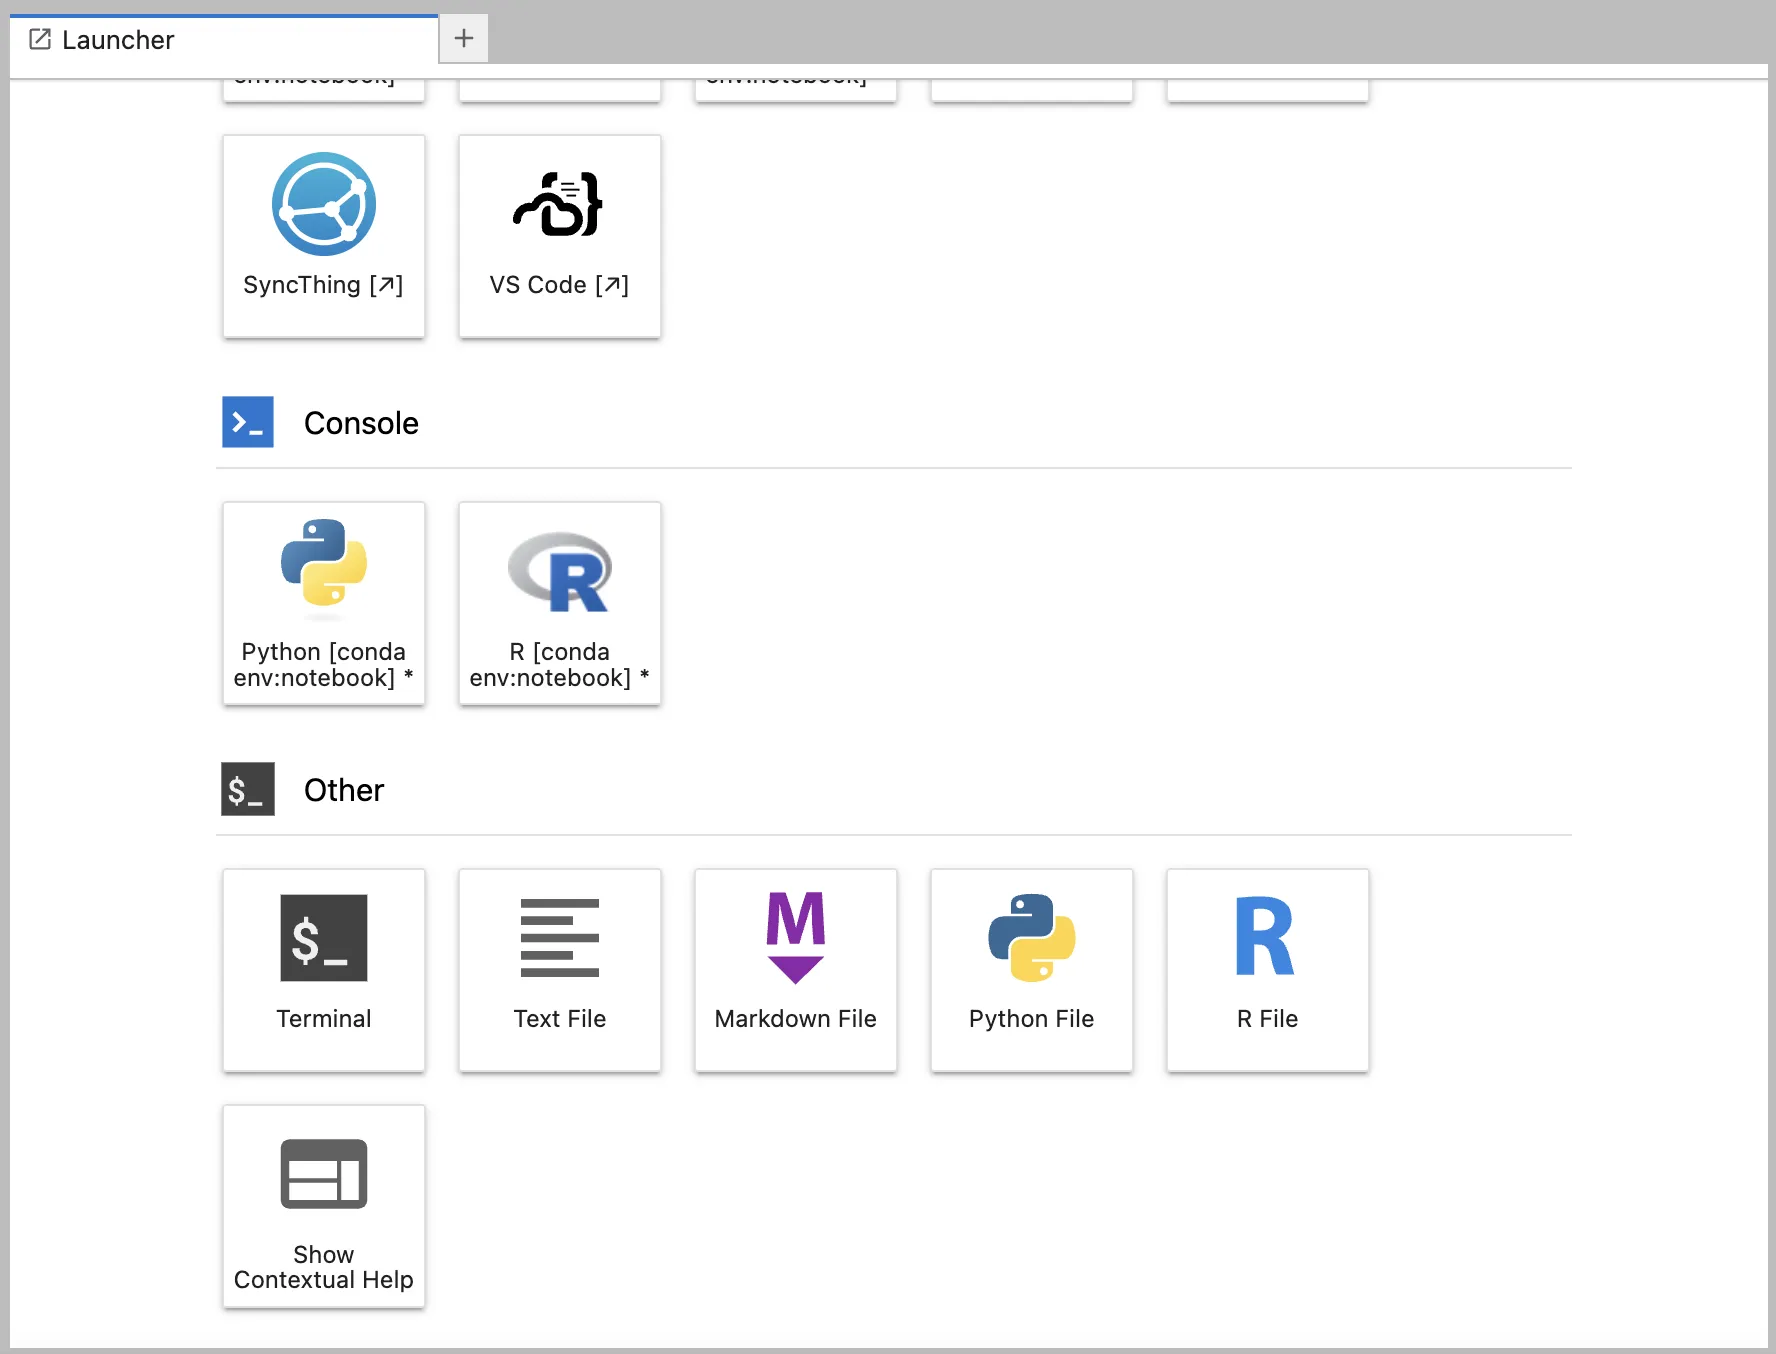
From The Launcher, open a new terminal by double clicking the terminal icon at the bottom left of your screen.
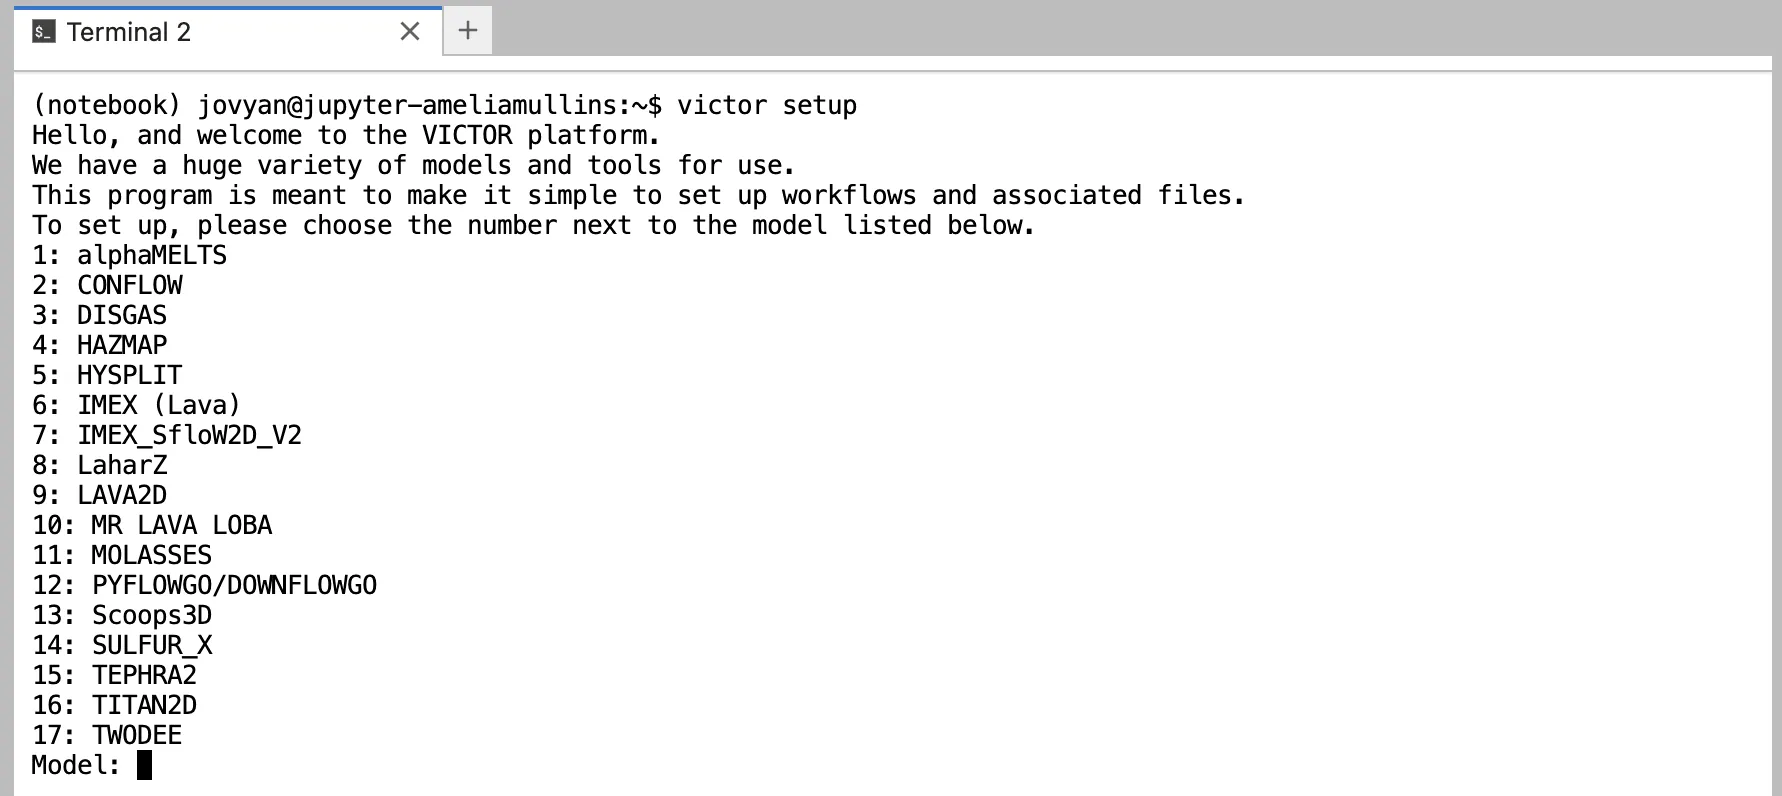
In the new terminal, type 'victor setup' and press enter. A list of the available models will populate underneath. Using the list, type the number associated with the model you would like to use and press enter. For example, if you are using Molasses, type 11 and press enter. A folder titled Molasses will appear in your folder tree to the left of your screen.
VICTOR users are able to report issues encountered while using the platform to the VICTOR team two ways:
The first is using their GutHub account to report an issue.
The second is to discuss an issue through the VICTOR forum.
These options are also available on the Documentation Page.

Running a cell:
To run a cell, click the play button at the top of your notebook, or press Shift + Enter.
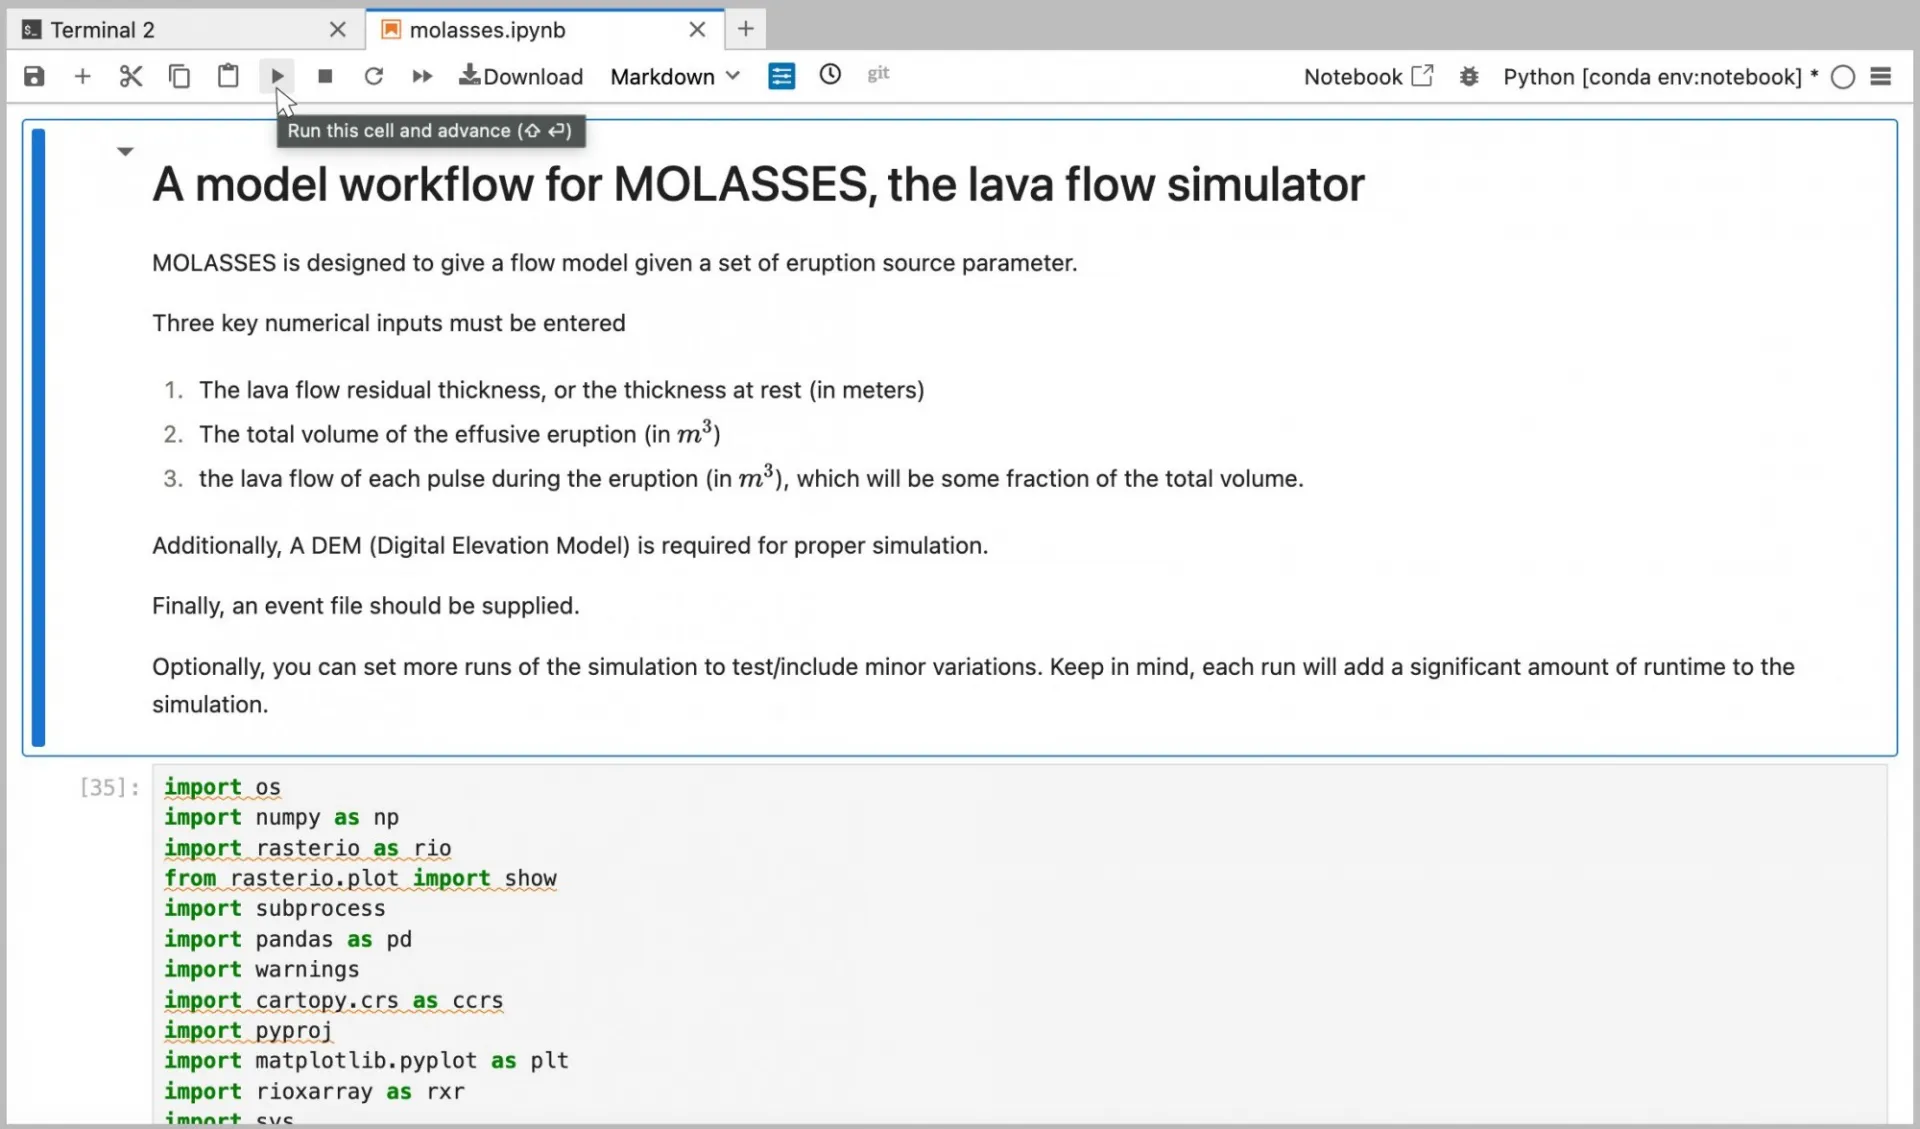
Some models only take a few minutes to run, while others may take a few hours. It is important to know that when the cell number appears as an asterisk (shown below) the cell is still running.

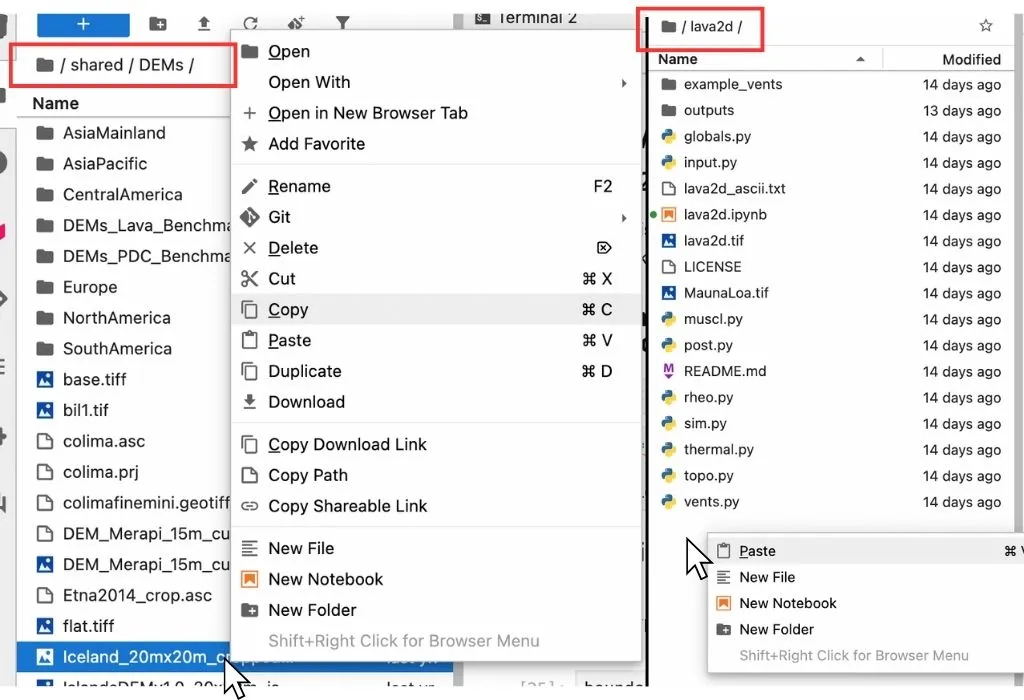
Copying a DEM
If you would like to run a model with a DEM that is different than the one pre inputted into the model, begin by navigating to the following folder:

Next, find the DEM you are interested in from the list and copy it by right clicking on the name. (left image below)
Then, return to the folder of the model you are using in your home directory. Paste the DEM file directly into this folder by right clicking in the folder and selecting paste. (right image below) Both of these steps are shown in the visual below, using an Iceland DEM and Lava2D as an example.
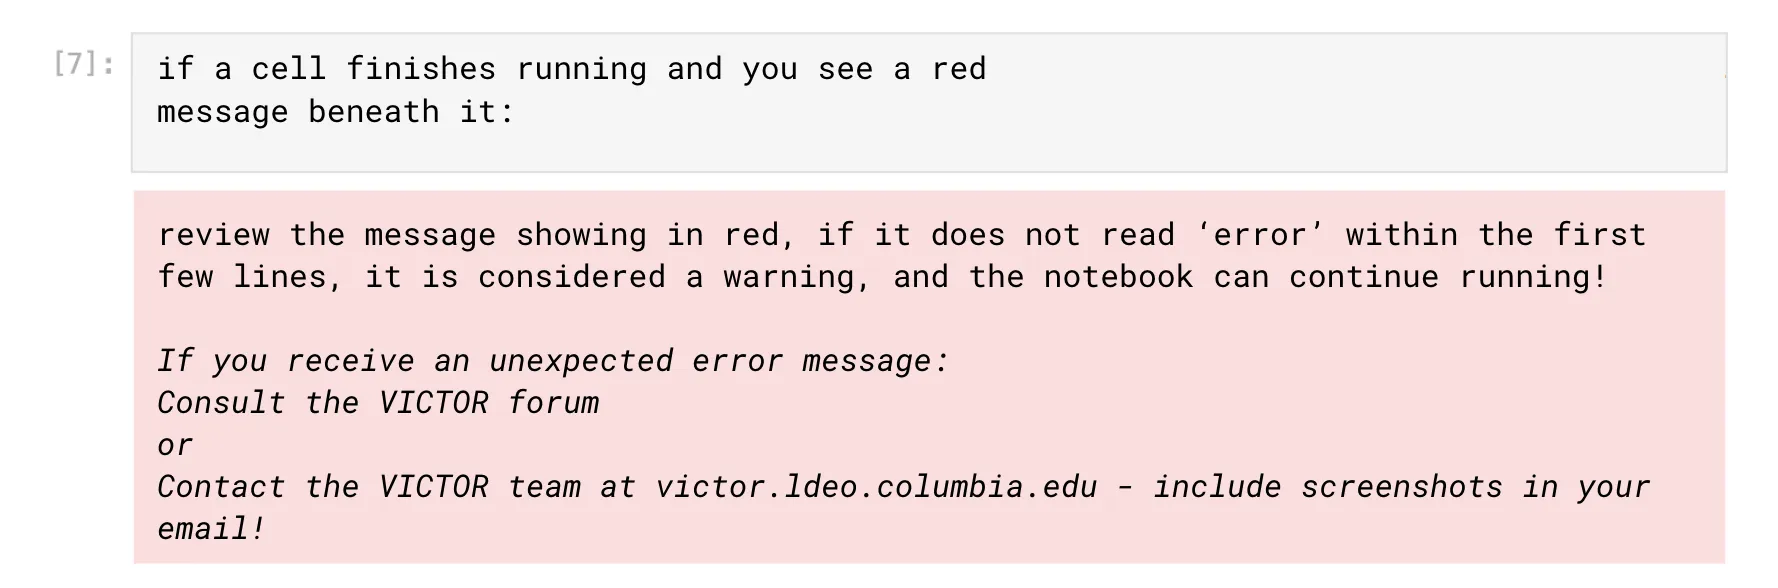
What to do when you see a red error message:
Topic Specific Tutorial Library
Clicking on the thumbnails below will open the resource in a new tab.